
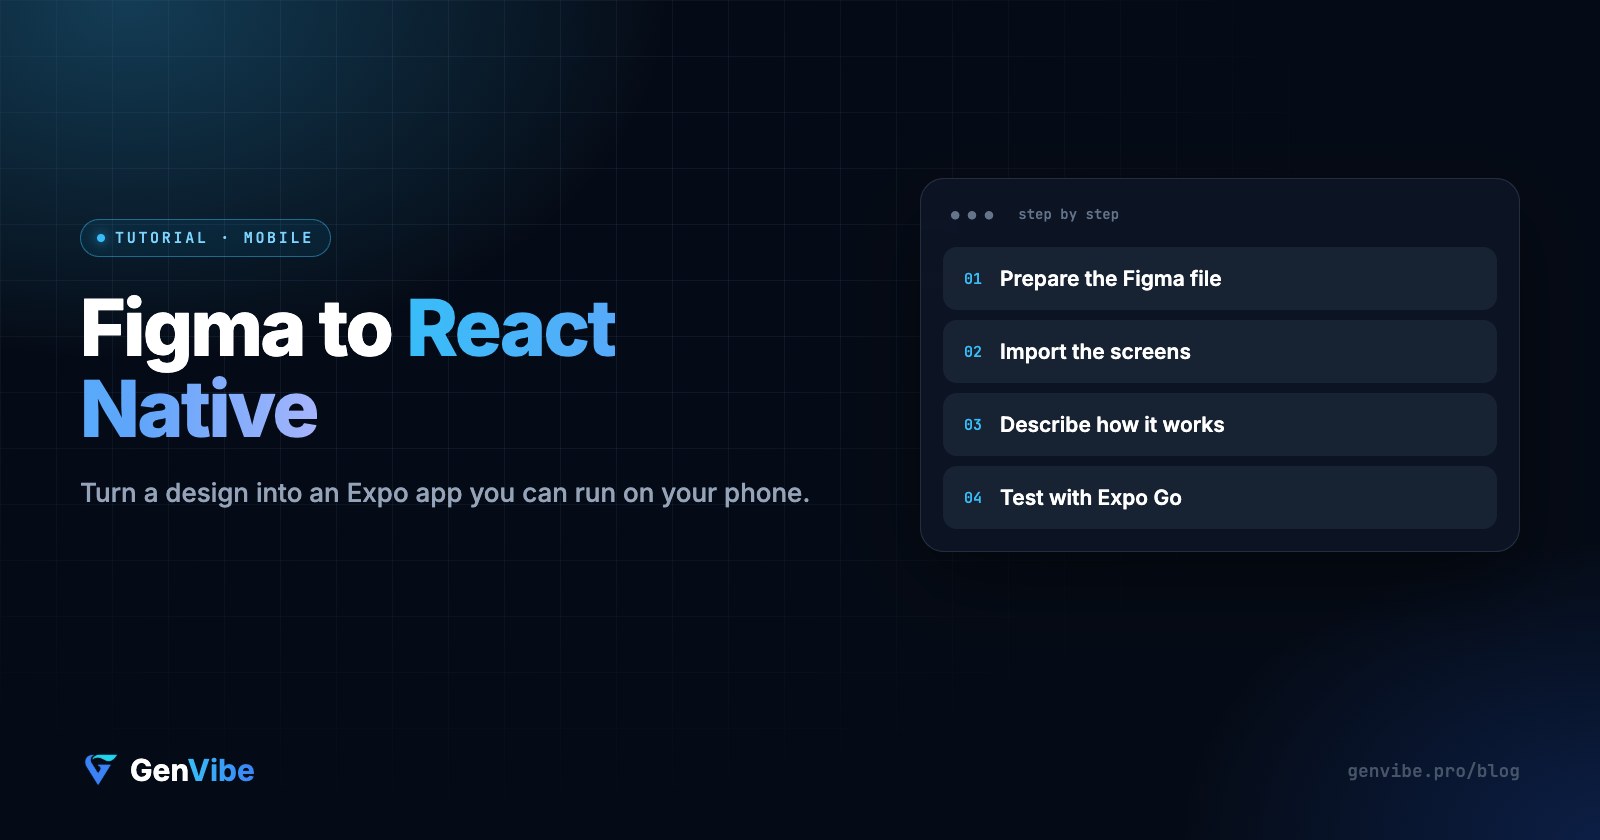
The short answer: the fastest way to turn a Figma design into a React Native app is to import the Figma link into an AI app builder that writes a whole Expo project. In GenVibe that means: pick Mobile, click the Figma button, paste your link, and describe how the app should work. A few minutes later you can run it on your own phone. If you only need individual components, a Figma plugin such as Builder.io Visual Copilot or Locofy exports them instead.
Three ways to go from Figma to React Native
| Method | What you get | Best for |
|---|---|---|
| AI app builder (GenVibe) | A complete, running Expo app with navigation and data | Getting a working app fast, without writing code |
| Figma plugin (Builder.io, Locofy) | React Native components you add to your own project | Developers who already have an app |
| By hand (Figma Dev Mode) | Exactly the code you write | Full control, if you have the time |
Before you start: prepare your Figma file
The quality of the result depends more on the file than on the tool. Five minutes here saves an hour later:
- One frame per screen, at phone size. 390 × 844 (iPhone) is a good default.
- Use Auto Layout. It tells the converter how things stack and stretch, which maps directly to React Native's flexbox. Absolutely positioned layers are the main cause of broken layouts.
- Name your layers and screens. "Login", "Home", "Profile" become screen names in the app.
- Make repeated items components. A product card used ten times should be one component.
- Keep images as images. Don't flatten text into pictures, and export complex illustrations as images.
Step by step: Figma to an Expo app with GenVibe
1. Copy the right Figma link
In Figma, click Share → Copy link. What you copy decides what gets imported:
- A page link with nothing selected lets you pick several screens on the next step.
- A link to one frame imports just that screen.
2. Choose Mobile and open the Figma import
On the GenVibe home screen, switch the toggle to Mobile, then click the Figma icon next to the + button. The first time, you connect your Figma account. GenVibe asks for read-only access to your files.
3. Paste the link and pick your screens
Paste the link. For a large file, GenVibe shows your frames so you can choose which screens to import. It reads the layout, spacing, colours, fonts and images straight from Figma, so you don't need to export anything.
4. Say how the app should work
The design shows how the app looks; your prompt says how it behaves. Be specific about navigation and data, for example:
Build this as a React Native app. The Login screen signs users in with email. After login, show Home with a bottom tab bar for Home, Search and Profile. Tapping a product card opens the Product screen. Store favourites so they are still there after closing the app.
5. Test it on your phone
GenVibe writes the Expo project and shows a live preview. Scan the QR code with the free Expo Go app on your iPhone or Android phone to run it for real. If something doesn't match the design, say so in chat: "the header should stay at the top when scrolling" or "use the same spacing as the Figma cards".
6. Add a backend and take it further
- Data and logins: connect a Supabase database and authentication from the chat.
- Your code: download the project or push it to GitHub at any time.
- App stores: GenVibe builds the iOS and Android apps through Expo on your own Expo account, so you keep the signing keys. Publishing needs an Apple Developer account ($99/year) and a Google Play account ($25 once).
What converts well, and what needs a prompt
| Converts well | Needs you to describe it |
|---|---|
| Layout, spacing and Auto Layout stacks | Navigation between screens |
| Colours, fonts and text styles | Prototype animations and transitions |
| Icons, images and buttons | Real data, logins and saving |
| Repeated components such as cards and lists | Phone details like the keyboard and safe areas |
Figma to React Native plugins
If you already have a React Native app and only need components, a plugin may be enough:
- Builder.io Visual Copilot: a Figma plugin that converts selected frames to React Native, targeting Expo with NativeWind styling. It works best with Auto Layout.
- Locofy: exports React Native components and supports data binding; React Native export is on its paid plans.
- Figma community plugins: free plugins such as "Figma → React Native" export components, themes and icons.
Plugins give you building blocks; you still wire up navigation, state, data and the build yourself. An AI app builder does that part too.
Common problems and quick fixes
- Layout breaks on smaller phones: replace absolute positioning with Auto Layout in Figma, or ask for a responsive layout in chat.
- Wrong font: use a font available in the app (Google Fonts work well), or ask GenVibe to add it.
- Blurry images: export images from Figma at 2x or 3x.
- Only one screen came through: you copied a frame link. Copy the page link instead and pick the screens.
Ready to try it with your own design? Turn your Figma file into a React Native app → For the web side, see the Figma to React guide, and compare tools in the best React Native app builders.
Frequently asked questions
How do I convert a Figma design to React Native?
Copy the link to your Figma page or frame, import it into an AI app builder such as GenVibe with the Mobile option selected, describe how the app should behave, and it writes a React Native (Expo) app you can run on your phone. Alternatively, a Figma plugin like Builder.io Visual Copilot or Locofy exports React Native components that you assemble into an app yourself.
Can I convert Figma to React Native for free?
Yes. GenVibe’s free plan (20 credits, no card) includes Figma import and builds a working Expo app. Free Figma community plugins can export components too. Locofy’s React Native export needs a paid plan.
Does Figma to React Native give me Expo code?
With GenVibe, yes: you get a standard Expo project you can download or push to GitHub. Builder.io’s Visual Copilot also targets Expo with NativeWind styling. Plugins give you components rather than a complete project.
Do I need a Mac to build the iOS app?
No. Expo builds iOS and Android apps in the cloud, and you can test on your own iPhone with the Expo Go app. You do need an Apple Developer account ($99/year) to publish on the App Store.
Why does my converted design look different from Figma?
Usually because of the file, not the tool: frames without Auto Layout, absolute positioning, flattened images or fonts that are not available in the app. Use Auto Layout, phone-sized frames and named layers, then describe any remaining differences in chat to fix them.